Replacing Voyager's Diesel Tank
Winter, 2006
Voyager's fuel tank was the original Corten steel 40 gallon unit. Most Seawind owners report that their old tanks rust internally, quickly fouling the filters. Voyager's was no exception, and I had installed a 19 gallon "day" tank, filled from the main one through a Racor, to insure clean fuel to the engine. That filter clogged constantly, and was typically hideous after 30 to 40 gallons had been pumped to the day tank.
The outside of the tank looked worse each year. So I decided to replace it over the winter. The first challenge was getting the old one out. Some owners cut out the cockpit sole and removed it in that fashion. My fiberglassing skills aren't up to snuff to make a decent-looking repair when glassing the sole back in. Others have removed it through the port cockpit locker, but the new tank was to be bigger, and had to go in through the engine compartment. So I yanked the engine into the main cabin and set to work. The sawzall made short work of the bulkhead that separates that locker from the tank/engine room. But the tank sits on a shelf that, it turns out, is glassed to the bulkhead. Using a crowbar it wasn't too hard to break the glass.
The tank and shelf immediately sagged. A 2x4 half-way back
thwartships that supports the shelf came loose. It was poorly fastened and
apparently doing nothing.
The port mizzen support is glassed top and bottom and had to come out. On
Voyager the glass was poorly done and coming apart. I loosened the shrouds and
jacked up the mizzen step (jacking from a 2x4 across the engine beds), cut the
support's glass out, and the thing just fell out. There were no mechanical
fasteners.
After that it was just a matter of sliding the tank forward into the cabin.
Earlier I had removed half of the bulkhead that separates the engine compartment
from the cabin, plus the panel that runs fore and aft between the ladder and the
sink cabinet. That space was needed as the tank barely cleared.
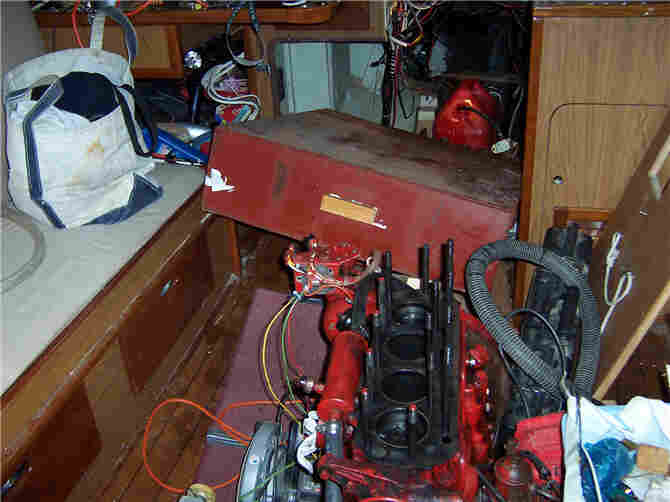
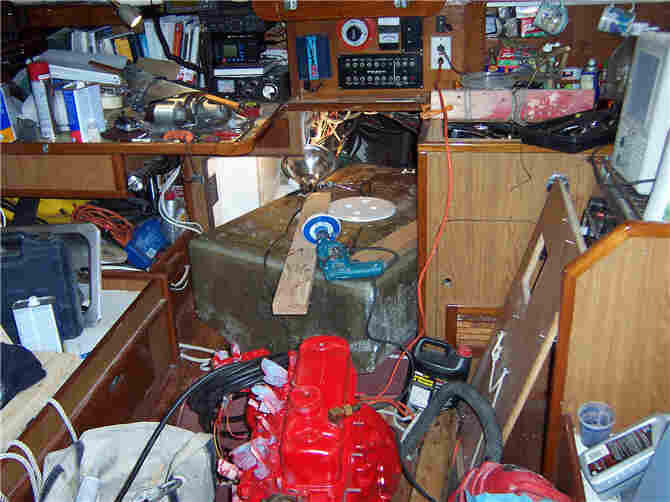
Tank in the cabin. Engine in pieces. Boat a mess.
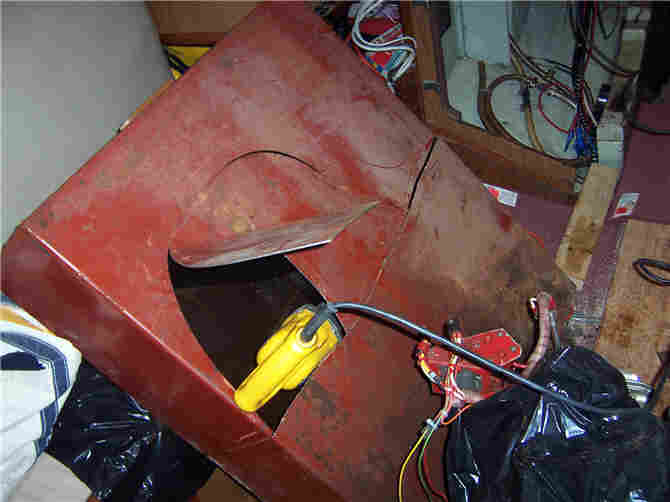
It doesn't fit out the companionway, so I cut it in two with the sawzall and
angle grinder. There are interior baffles welded top and bottom, so I cut an
access hole in the tank to get a tool inside to cut through a baffle.
Then I used the sawzall to remove the tank's shelf.
The tank was greasy and rusty... but in surprisingly good condition. There's a
lot of metal thickness left. Paul reported 3 inches of scum in his. Voyager's
tank was nearly pristine... except for a big mound of sludge right at the fuel
pickup line. Yet the filter clogs constantly. I don't understand why the crud
collected only at that one point, but speculate that the biocide kept it all in
suspension, and it precipitated out due to the vacuum formed when the pump pulls
fuel out. But that's just a guess.
My design goals for the new tank were:
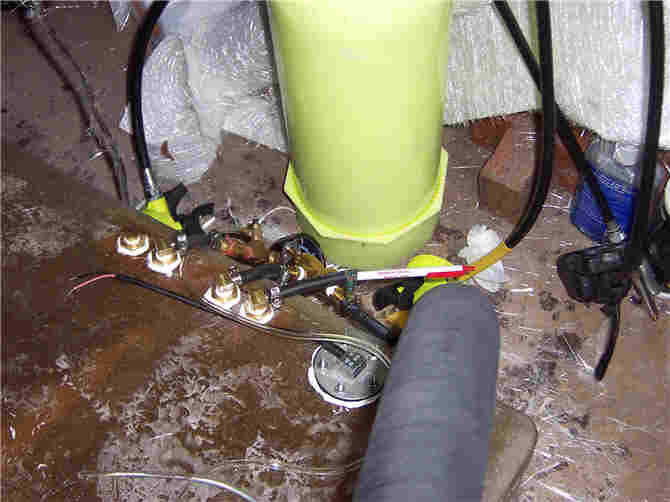
The design evolved over time. CAD drawings here and for the internal baffles here. Note that the bottom of the tank slopes down to the center on both sides athartships, and down to the forward (low) end of the tank. The screwball-looking hemisphere on the bottom is the sump, which can hold a half-gallon of fuel. The pickup is positioned so it can't get the last quart, which is reserved for water and crud. A lower pickup, plumbed to a small hand pump, gets all that.
The tank holds 63 gallons, of which all but the last two quarts are available even on a 15 degree heel . That's enough to motor 750 miles at 4 knots in a flat-calm sea. Since we have to carry two jugs on deck to get fuel at some remote islands, we may as well carry those full, yielding a total range of 870 miles.
I built the thing from fiberglass over a male mold made of medium-density fiberboard... and a metal kitchen bowl for the sump. The odd bottom shape means there's a difficult twist in those pieces which the MDF didn't care to allow. So I ripped 1" wide pieces and assembled the bottom rather like one builds a carvel boat. Two layers of glass went over it all, plus six coats of release wax.
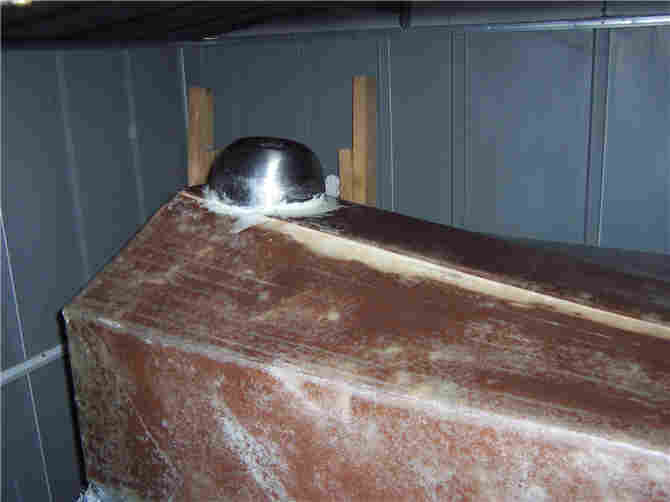
The mold in our shed. Note the strips of 1" wide MDF on the bottom under the glass.
The tank's layup schedule was two layers of 1.5 oz mat, one of 24 oz roving, and two more of mat. All corners are reinforced with extra mat, giving a tank thickness of 0.25" to 0.38", using a total of 8 gallons of polyester resin ($17/gallon from Merton's) and 45 feet of 60" wide mat. Of course, it was winter which means the resin wouldn't care to set properly. So I used four times the normal amount of hardener, but pre-chilled the resin so it wouldn't set up too quickly in the pot. Marybeth was sort of surprised one day to find the stuff in the freezer.
There are more technical details here, including part numbers of various components.
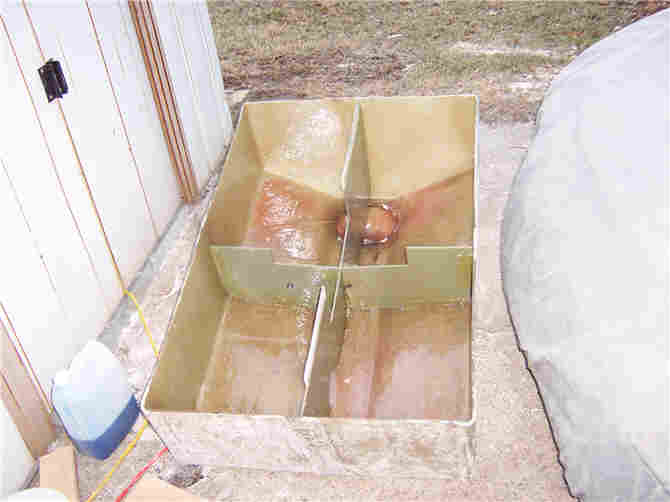
The tank, baffles in place.
On the right, the top ready to be attached.

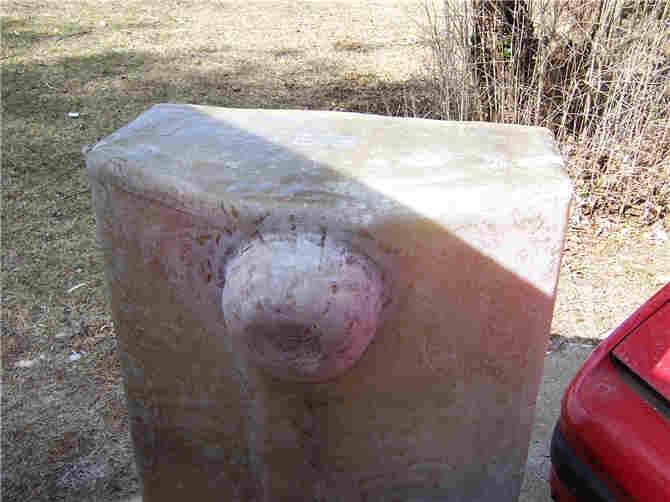
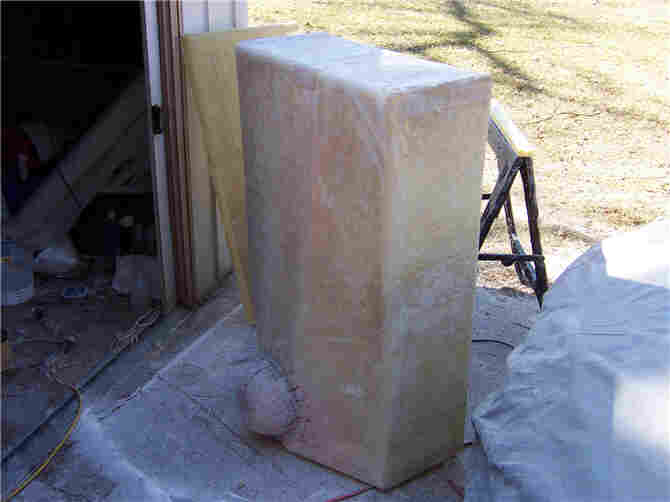
Various view of the beast.
Pressure testing to comply with ABYC rules, using a scuba tank and gauge. At 3.5 PSI there's about 6000 pounds of force on the top. It made horrible creaking noises but didn't leak. Don't try this at home.
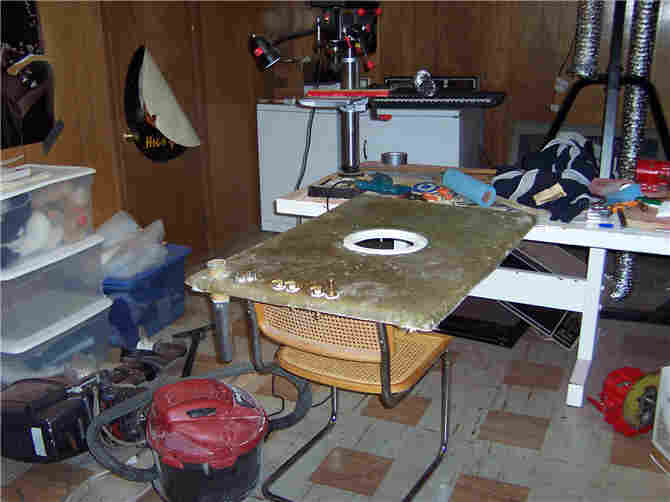
In the main cabin, soon to be pushed aft into the engine compartment. Boat still a mess.
After far too many hours, the tank is now installed, the engine is back in place, as are the port bulkhead and mizzen support. There's only 15 gallons of diesel in it at the moment, but it functions properly.
Since the engine had to come out, I had the starter, injectors and injection pump rebuilt. The head went to a head shop (not that kind!) where it was cleaned, magnafluxed, and the valve seats reground. New engine mounts and hoses, plus a paint job followed.
It was a much bigger effort that I'd imagined.
Back to Jack's home page.